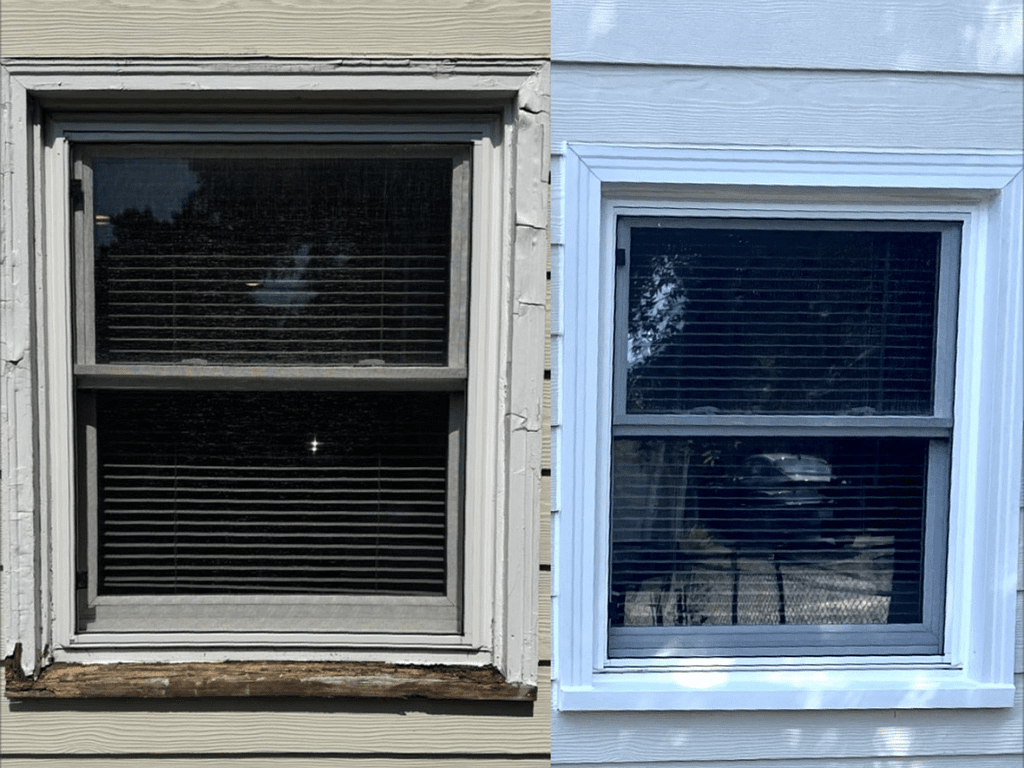
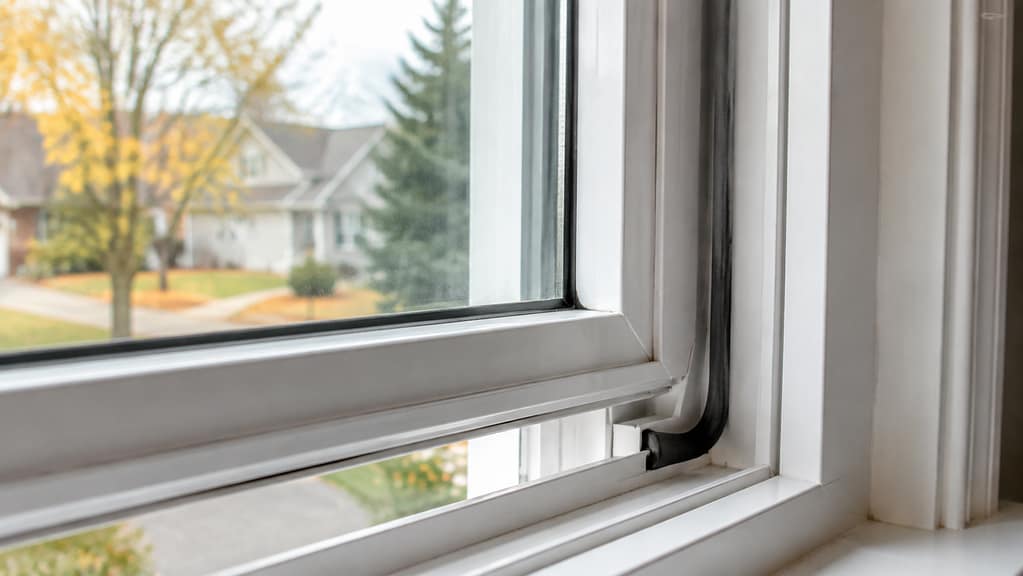
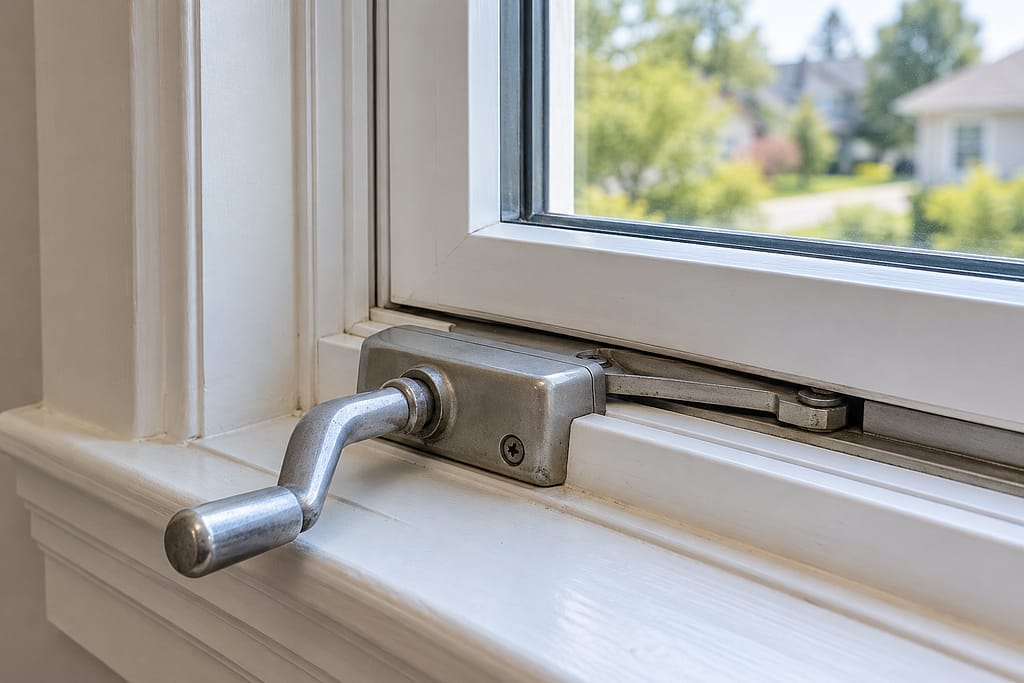
The most useful way to identify a window part is to document the complete window, the operating problem, any manufacturer information, and the markings and dimensions of the affected component.
A close photograph of one broken piece is rarely enough. Similar looking cranks, balances, locks, latches, and glazing beads may differ in size, strength, handedness, attachment points, or window series.
Homeowners searching for window parts in Blaine, MN can save time by gathering accurate information before requesting repair. You do not need to disassemble a window to begin. Clear photographs and a careful description usually provide a safer and more useful starting point.
Why the Correct Window Part Can Be Difficult to Identify
A window is built from connected parts that must match the original design and the condition of the sash and frame.
Two components may look nearly identical but operate differently once installed. A crank arm may have a different reach. A lock may use different screw spacing. A balance may be the same length but support a different sash weight.
The visible broken part may also be only one result of a larger problem. A stripped operator can be caused by sash drag. A lock may stop reaching its keeper because the sash is out of alignment.
A replacement part selected only by appearance may not correct the cause and could place more stress on the window.
Start by Identifying the Window Type
Before looking for a part number, identify how the window moves. The operating style narrows the possible hardware system and helps a technician understand where the failed component belongs.
• Casement windows are hinged at the side and commonly open with a crank or operator.
• Awning windows are hinged at the top and open outward from the bottom.
• Single hung and double hung windows use vertically moving sashes supported by balance systems.
• Sliding windows move horizontally and may use rollers, guides, locks, and track components.
• Tilt in windows may include tilt latches, pivot bars, pivot shoes, and balances that work together.
Photograph the complete window from inside the room in both its closed and safely opened positions. This context is often more useful than a close photograph that shows the part but not the type of window or its location.
Where to Look for Labels and Markings
Manufacturer information may appear in different places depending on the window brand, series, and age.
Do not remove trim, glass, or a sash simply to search for a label. Check only areas that are safely visible during normal operation.
Window Frame and Sash Labels
Look along the top or side of the sash, inside the frame, near the meeting rail, or within an accessible jamb area.
A label may include a manufacturer name, product line, size code, order number, or production information. Photograph the complete label before cleaning it because age and moisture can make printed details fragile.
Stamped or Molded Numbers on Hardware
Operators, locks, latches, balances, shoes, and other components may have letters or numbers stamped, printed, or molded into the material.
Capture the marking and the complete shape of the part. A number by itself may not show the arm style, mounting pattern, or orientation needed for identification.
Glass Etching and Spacer Information
Etched marks in a glass corner or information visible on a spacer between panes may provide useful clues about the glass unit.
However, a glass marking does not always identify the window manufacturer or operating hardware. Include it with other photographs rather than treating it as the only identifier.
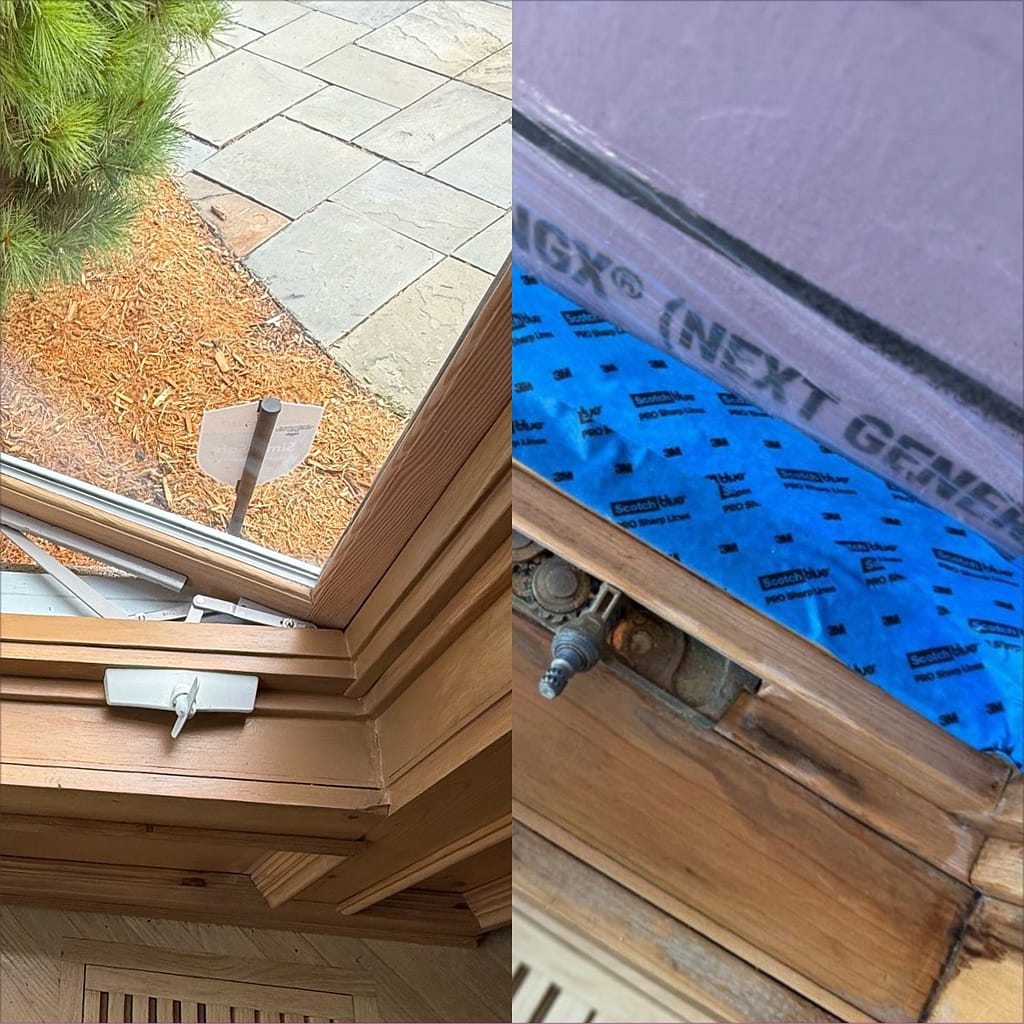
Details That Matter for Common Window Parts
Casement Operators and Cranks
For a casement operator, photograph the handle, operator cover, arm, track connection, and mounting screws.
Note whether the sash is hinged on the left or right when viewed from inside. Arm shape, arm length, screw spacing, spline size, and handedness can affect compatibility.
Do not keep turning a crank that spins or slips because additional force can damage connected parts.
Window Balances and Related Parts
Window balances vary by design, length, attachment, and strength.
Helpful details include the window style, which sash is affected, markings visible in the jamb, photographs of both side tracks, and a description of whether the sash falls, rises unevenly, or feels unusually heavy.
Do not pull out a spring or remove an unsupported sash. Balance systems can hold stored tension, and the sash may be heavier than expected.
Locks and Keepers
Photograph the lock, keeper, mounting holes, and the meeting surfaces of the sash. Note whether the lock is broken, loose, or simply no longer lines up.
A new lock will not correct a shifted sash or frame alignment problem, so the operating condition matters as much as the part dimensions.
Tilt Latches, Pivot Bars, and Pivot Shoes
These components may be small, but their shape and connection points vary.
Photograph each loose piece from more than one angle and include a ruler for scale when this can be done without removing additional hardware.
Keep broken clips, pins, or plastic pieces because their profile may help identify a match.
Glazing Beads and Window Stops
Glazing beads and stops hold or finish the edge around the glass. Matching them may require the profile shape, width, depth, color, and the window system they came from.
A straight photograph may hide the profile. Include a safe end view of a loose piece if one is already available.
Do not pry intact glazing components away from damaged glass for identification.
Photographs and Information to Send for Part Identification
A useful photo set should tell the complete story of the window, not only show the broken piece. Take photographs in good light and review them for focus before submitting the estimate request.
Include:
• The complete window from inside the room
• The window safely closed and opened when normal operation remains safe
• The damaged component from the front, side, and connection point
• Any manufacturer label, stamped number, etched mark, or balance code
• Mounting holes, screw spacing, arm shape, clips, brackets, or attachment points
• Both side jambs when the problem involves a sash or balance system
• A ruler beside a loose part for scale without disassembling more of the window
• Any broken or disconnected pieces that came from the window
Also describe what happens when you operate the window. Explain whether it sticks, drops, spins at the crank, opens unevenly, fails to lock, or makes a scraping or clicking sound.
Symptoms help connect the visible part to the rest of the system.
Common Mistakes When Searching for Window Parts
• Ordering a replacement because it looks similar in one online photograph
• Using the window brand alone without checking the product series or component markings
• Sending only an extreme close up that does not show the complete window
• Guessing left or right orientation without showing the hinge and operating direction
• Discarding broken pieces before photographing their markings and connection points
• Removing spring loaded balances or an unsupported sash to obtain a measurement
• Replacing the visible part without checking sash drag, alignment, or frame movement
Part identification should come before ordering. If the exact original component is unavailable, a technician may need to evaluate whether a compatible option can be used safely without changing how the window operates.
How Minnesota Conditions Affect Window Hardware
Windows in Blaine, Minneapolis, and surrounding Twin Cities communities operate through cold winters, moisture, humidity, and seasonal temperature changes.
Plastic parts may become more brittle with age, metal components can corrode, and wood movement can increase resistance around a sash.
Do not force a window that is frozen, swollen, painted shut, or suddenly difficult to move.
The failed part may be repairable, but continued pressure can strip gears, bend arms, break latches, or damage the surrounding sash. Document the symptom and keep the window closed when safe until it can be inspected.
What Happens After the Part Is Identified
A technician can compare the window type, labels, markings, measurements, attachment points, and operating symptoms.
The inspection should also check the frame, sash, tracks, and connected hardware so the replacement part is not installed into the same condition that caused the failure.
When the correct component is available and the surrounding window remains serviceable, targeted hardware repair may restore normal operation without replacing the entire window.
More extensive work may be needed when mounting points are broken, the sash is severely distorted, structural wood is damaged, or compatible parts cannot be used safely.
Request Help Identifying Window Parts
Pro Window Repair & Service provides window hardware repair in Blaine, Minneapolis, and the Twin Cities.
The team evaluates cranks, operators, balances, locks, tilt latches, hinges, glazing beads, and related components as part of the complete window system.
Learn more about window repair services in Blaine, review the safety guide for a window that will not stay open, or request an estimate and upload clear photographs of the complete window, visible markings, and damaged parts.
Call 612-240-0772 to speak with Pro Window Repair & Service.
Frequently Asked Questions
How do I identify an unknown window part?
Start with the complete window type, operating symptom, manufacturer labels, markings on the component, attachment points, and clear photographs from several angles. Measurements may also be needed.
Is the manufacturer name enough to find a replacement part?
Not always. A manufacturer may use different hardware across product lines and production years. Series information, part markings, dimensions, and mounting details can help narrow the match.
Where can I find a window model or serial number?
Check safely visible areas along the sash, frame, meeting rail, or jamb. Labels vary by manufacturer and age. Photograph the full label without removing the sash or trim.
Should I remove a window balance to read its markings?
No. Spring loaded balance systems and unsupported sashes can move with force. Photograph visible markings and both jamb areas, then allow a qualified technician to determine whether removal is needed.
What photographs should I send for a window parts estimate?
Send the complete window, the part from several angles, its connection points, visible labels or markings, both side tracks when relevant, and any loose pieces. Also describe what happens during operation.